What is so special and embracing about autumn? I’ll start by saying the green vibrance is leaving our plane and that is being quickly swept by warm colors such as yellow, oranges, purples and reds. This happens because all the chlorophyll the plants have absorbed from the sun is leaving, thus, revealing the true color of the plant. It’s magical! Just as the trees are no longer able to fully embrace the sun itself, neither are we. So it’s time to tune into ourselves and the warmth and life the sun brings through alternative ways..and to be able to do this, our wardrobe and flavor choices change.
Starting with colors: orange influences joy, creativity, and sunshine. Wear orange, drink orange and feel orange. Red is the color of fire and blood. It goes without saying it is the warmest color and it can be wielded during the “war” between us and the coming cold. It also increases blood flow and passion to keep us active in the dull momentum of cold weather. Yellow arouses cheerfulness. So to keep our passion flowing add some yellow through lemons or anything yellow for that matter. It’ll help us pep up and be just as active as a summer day, because it influences muscle activity. Last but not least: purples. This color is a very special aide in the autumn changes. It influences ambition amongst all the other colors, and it keeps the other colors alive. Without the ambition we would lose our ability to truly wield the other colors powers. It is a true color of power and nobility. Use this knowledge to your benefit and treat them as the sun, we need them. Go thrifting and food shopping for these colors to help you experience fall to the fullest potential.
Nature never fails to fill the gaps when there are needs to fulfill. Flavor is a whole other experience that gracefully comes with autumn’s aesthetic. Flavors such as cinnamon and maple that actually come from a tree’s bark, are popular during this time of year. Like a blanket to the tree it also treats us as one, bringing warmth in the cold. This is the time we fawn over warm foods and drinks, like hot ciders, teas, and cocoa, and foods like pumpkin bread and soup. If you pay attention any of these feature the warmest flavors such as, ginger, clove, pear, pumpkin, maple, squash–the list goes on. During the fall harvest the Earth is relinquishing the colors we need through food. Foods such as pomegranate, cranberry, squash, pumpkins, and sweet potatoes are flush with oranges, reds and yellows. We can even harvest these for natural dyes. I encourage you to research and find the recipes best fit for an autumn day.
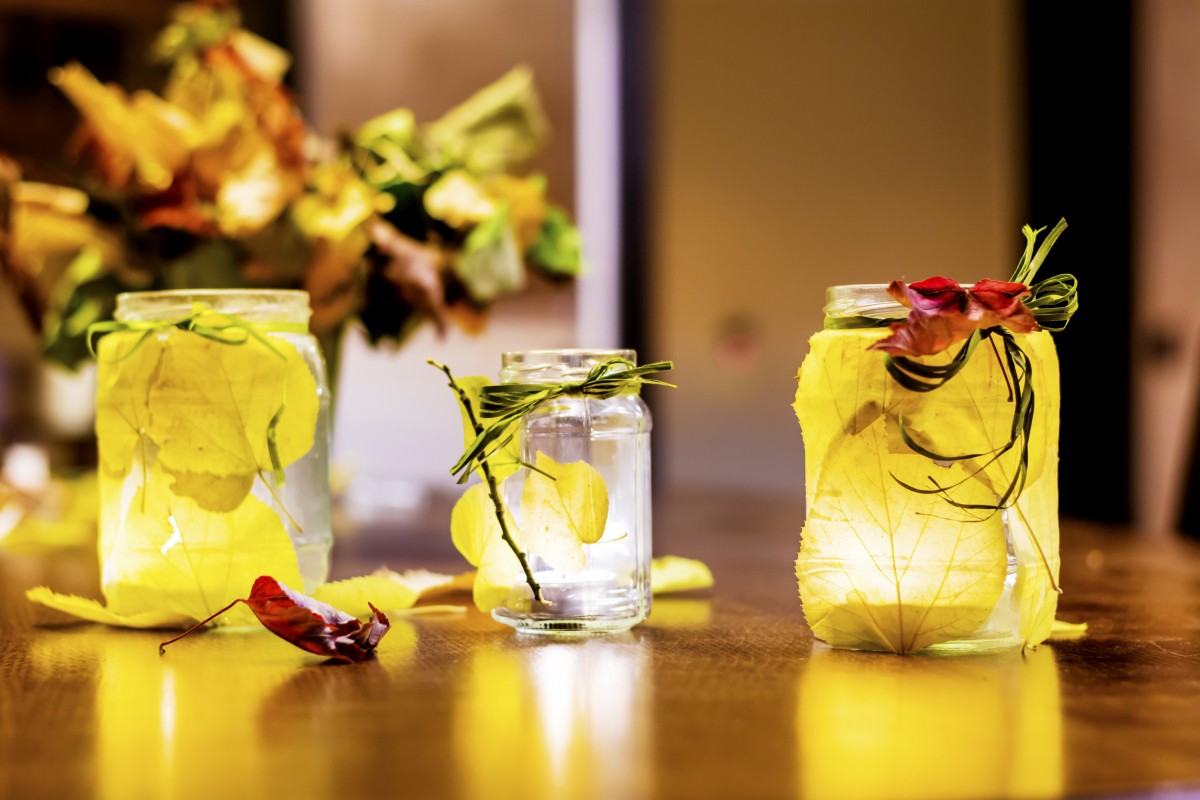
With all this being said I am going to give some advice on how to embrace the outdoors during fall…Where to go, what to do and how to do it! For old times’ sake, rake up your leaves andhave a jumping party. Whether it’s with your friends who are willing or your dog because heaven knows they will always love playing in the leaves. You can light a fire and cook on it (I recommend soup) and for something that will bring the heat, candles with plants in them. As you will see below is a guide line for making the candles.

SUPPLIES NEEDED:
- Glass jars
• 1 block of beeswax (I used 1 1/2 blocks to make two candles)
• Wick
• Pressed flowers or herbs (100% dry)
• Clean empty tin can and a saucepan
• 1 old paintbrush (you can throw away afterwards)
• An old knife
• Cutting board
TIP: Make sure you use the correct size wick for your jar! If you don’t your candle won’t burn properly (I learned this the hard way). Be sure to ask someone when you are buying the wick to advise you on the correct size.
- On the cutting board, use the knife to chop the wax into smaller chunks that will fit within the empty can.
- Place a few chunks of wax into the can (or double boiler), place the can into the pot, and add 2″ of water. Heat on medium until the wax is melted, then lower the temperature until the water calms to a simmer.
- Dip the brush into the melted wax and apply the pressed flowers to the inside of the jar. Bear in mind that the flowers won’t stay completely put when you pour in the wax, but this will help them stay towards the outer edges. To anchor the wick, dip the metal end of the wick into the melted wax and lower it to the bottom of the jar. The melted wax will adhere the wick to the bottom.
- As the wax melts, add more chunks until the can is nearly full. Once the wax is completely melted, use an oven mitt to very carefully remove the can from the water, and slowly pour the wax into the jar. Depending on the size of your can, you will likely have to melt more wax, repeat these steps until the jar is full.
- To keep the wick from sinking, gently tie it around a pencil or chopstick. Allow the wax to cool completely. Trim the wick to 1/4″ before burning and always remember to keep the candle within sight while it’s lit.


